Last Updated: 8 January 2026
Setting Up Exchange Mailbox in Outlook on Windows 11
This guide assumes you have already installed Microsoft Outlook on your computer. We recommend using the latest version of Microsoft Outlook, however the steps for previous versions are broadly the same.
The steps to set up your Exchange mailbox on Outlook for Mac are also similiar.
Step 1
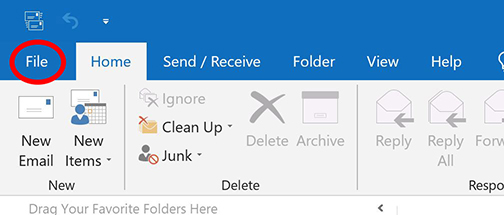
Open Outlook. If the 'Add Mailbox Wizard' does not start automatically, click on the 'File' menu.
Step 2
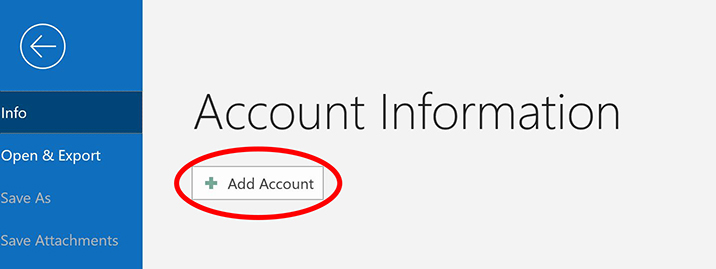
Click 'Add Account'.
Step 3
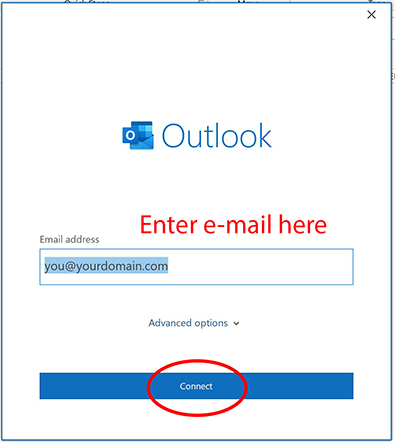
Enter your e-mail address, then click 'Connect'.
Step 4
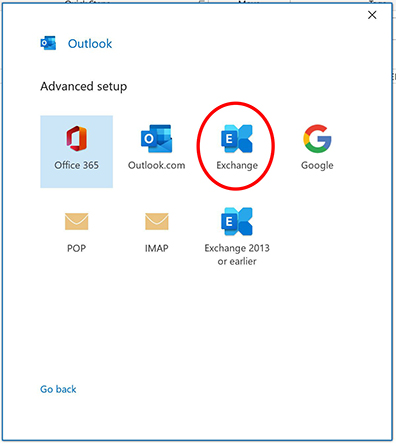
Select 'Exchange' from the list of providers.
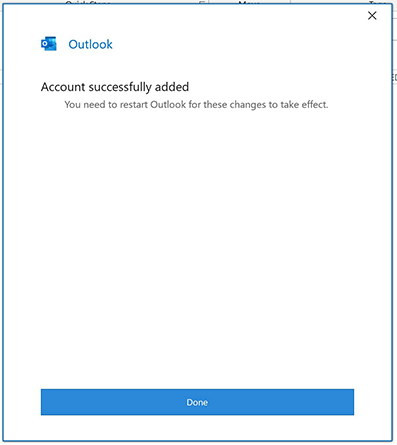
After a few moments, the mailbox configuration will be downloaded from our servers and your mailbox will be ready to use.
Automatic Configuration Not Working
There are several reasons why the setup process may not work. Usually, this will be because your domain is not registered through us, and is therefore not configured correctly for Exchange mailboxes. You can Raise a Support Ticket if you would like us to help you configure your domain correctly.
Manual Setup
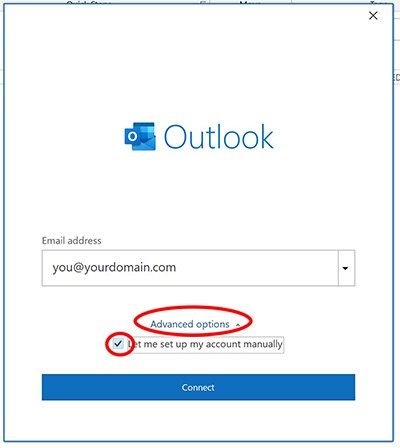
You can configure the mailbox manually by clicking on 'Advanced options' and then ticking 'Let me set up my account manually' in Step 3 above.
Use the details below to configure your mailbox manually:
| E-mail Address | (enter your full e-mail address) |
| Server | exchange.northserver.co.uk |
| Domain/Username | (enter your full e-mail address) |
| Password | (enter your password) |